Table of Contents
Introduction
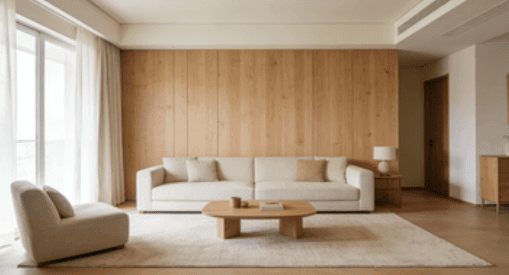
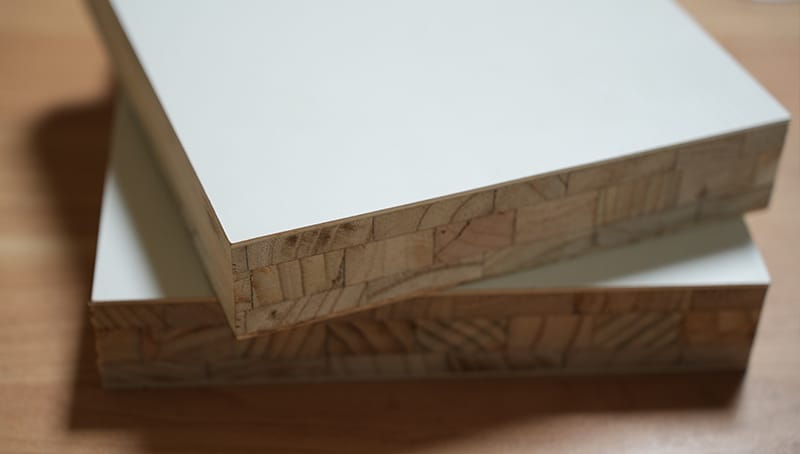
Solid wood panels are a timeless choice for both residential and commercial interiors. Known for their durability, natural beauty, and ability to enhance the aesthetic of any space, Solid Wood Panels have become a staple in modern construction and interior design. However, the installation process is crucial to ensure long-lasting performance, structural integrity, and optimal appearance. Improper installation can lead to warping, gaps, and uneven surfaces, undermining the benefits of this premium material.
In this article, we will explore six brilliant ways to install Solid Wood Panels, providing detailed guidance, practical examples, and expert insights. From choosing the right adhesives and fasteners to mastering advanced installation techniques, this guide ensures both DIY enthusiasts and professional installers can achieve exceptional results.
Understanding Solid Wood Panel Properties
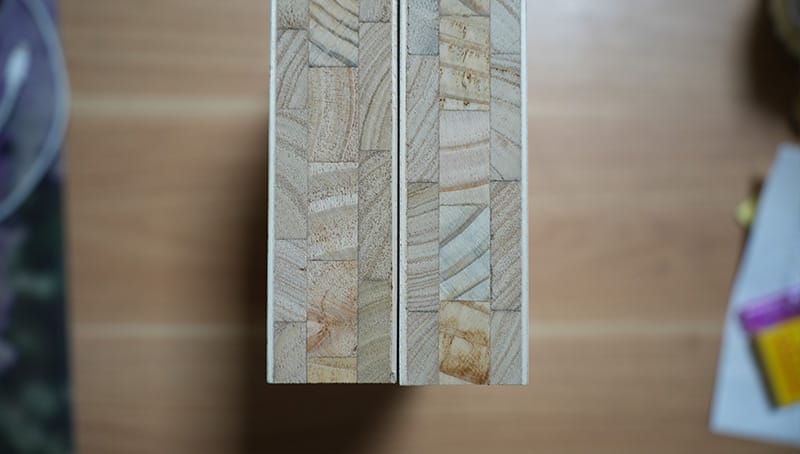
Before installation, it is essential to understand the characteristics of Solid Wood Panels. These panels are made from natural wood, offering benefits such as:
- Durability: Resistant to wear, scratches, and long-term use.
- Aesthetic Versatility: Can be stained, painted, or left natural to enhance interior design.
- Thermal Insulation: Provides additional insulation due to wood’s natural properties.
- Moisture Sensitivity: Expansion and contraction occur with humidity, requiring careful installation.
Real-world data from a 2021 study by the National Wood Flooring Association (NWFA) showed that improper handling of Solid Wood Panels led to 28% of installation failures in residential projects. This underscores the importance of choosing the right method tailored to specific project conditions.
1. Tongue and Groove Installation
How It Works
Tongue and groove installation involves panels that have interlocking edges, allowing them to fit together seamlessly. This method provides stability, minimizes gaps, and enhances aesthetic uniformity.
Benefits
- Creates a smooth, continuous surface
- Reduces risk of warping due to wood expansion
- Suitable for walls, ceilings, and flooring
Expert Tip
Apply a high-quality wood adhesive along the tongue before fitting panels to ensure maximum strength. Fasteners may also be used at regular intervals, but adhesive ensures long-term stability.
Case Study
A luxury residential project in Vancouver used tongue and groove Solid Wood Panels on both walls and ceilings. Over 18 months, there were no reported issues with panel separation or warping, demonstrating the reliability of this method.
2. Shiplap Installation
How It Works
Shiplap panels are designed with overlapping edges, creating a tight seal that is both decorative and functional. This style is particularly popular for accent walls and modern rustic interiors.
Benefits
- Adds visual depth and dimension
- Easy to replace individual panels if damaged
- Offers slight flexibility to accommodate natural wood movement
Expert Tip
Leave a small gap of 1-2 mm between panels to allow for expansion in humid climates. This prevents buckling and ensures a long-lasting finish.
Real-World Data
According to a survey by the Wood Panel Association (WPA), shiplap installations showed 22% fewer maintenance issues over a five-year period compared to flat-edge paneling in similar residential settings.
3. Clip and Rail Installation
How It Works
The clip and rail system involves attaching panels to a rail framework with clips that secure the panels in place without visible fasteners. This method is ideal for ceilings, commercial spaces, and modern wall treatments.
Benefits
- Eliminates visible nails or screws
- Allows panels to expand and contract freely
- Simplifies removal and replacement of individual panels
Expert Tip
Ensure clips are corrosion-resistant, especially in humid or coastal environments. Stainless steel or zinc-plated clips are recommended.
Case Example
An office renovation in Singapore installed Solid Wood Panels using clip and rail systems. The panels maintained a uniform alignment even in a high-humidity environment, reducing maintenance costs by 18% annually.
4. Direct Adhesive Installation
How It Works
Panels are bonded directly to walls or ceilings using high-performance construction adhesives. This method is suitable for lightweight panels or spaces where mechanical fasteners are undesirable.
Benefits
- Clean finish without visible fasteners
- Reduces labor costs compared to mechanical installation
- Suitable for retrofits and renovation projects
Expert Tip
Always prepare the surface by cleaning, sanding, and priming. Use adhesives rated for wood-to-substrate bonding and follow manufacturer curing times.
Real-World Data
A hospital renovation project in Germany using adhesive-installed Solid Wood Panels reported zero detachment incidents over 24 months, highlighting the method’s reliability in critical environments.
5. Screw and Nail Installation
How It Works
Traditional fasteners like screws and nails are used to attach panels directly to studs or substrate. Countersinking and finishing with wood filler or plugs ensures an aesthetically pleasing look.
Benefits
- Provides robust mechanical stability
- Suitable for high-traffic areas and load-bearing panels
- Allows easy panel replacement in the future
Expert Tip
Pre-drill pilot holes to prevent splitting, especially for hardwood panels. Use finishing plugs for a seamless appearance.
Case Example
A commercial interior in New York City installed Solid Wood Panels in high-traffic corridors using screws with pilot holes and plugs. The panels remained intact after three years of heavy use, demonstrating durability.
6. Floating Panel Installation
How It Works
Floating installations allow panels to “float” over a subfloor or wall system without direct fastening. Expansion gaps around the perimeter accommodate natural wood movement.
Benefits
- Ideal for areas with fluctuating humidity
- Prevents buckling and warping
- Creates a sleek, modern aesthetic
Expert Tip
Use spacers to maintain consistent expansion gaps, and secure perimeter trim to cover the gaps while allowing for movement.
Real-World Data
In a multi-unit residential building in Toronto, floating Solid Wood Panels reduced expansion-related repairs by 40% over five years compared to fixed installations.
Table: Comparison of Solid Wood Panel Installation Methods
| Installation Method | Best Use Case | Advantages | Maintenance | Cost Level |
|---|---|---|---|---|
| Tongue & Groove | Walls, ceilings, flooring | Seamless, stable, aesthetic | Low | Medium |
| Shiplap | Accent walls, rustic interiors | Depth, flexibility, easy replacement | Low | Medium |
| Clip & Rail | Ceilings, commercial walls | No visible fasteners, allows expansion | Low | High |
| Direct Adhesive | Lightweight panels, retrofits | Clean finish, reduced labor | Medium | Low |
| Screw & Nail | High-traffic areas | Robust, easy replacement | Medium | Low |
| Floating | Humid or fluctuating environments | Prevents buckling, modern look | Low | Medium |
Maintenance Tips for Long-Term Panel Performance
- Inspect panels annually for gaps, cracks, or moisture damage.
- Clean surfaces with non-abrasive cleaners to prevent finish degradation.
- Reapply protective coatings as recommended by the manufacturer.
- Maintain humidity levels between 40–60% indoors to prevent wood expansion or contraction.
Conclusion
Installing Solid Wood Panels requires careful consideration of the panel type, environment, and installation method. Whether you choose tongue and groove, shiplap, clip and rail, adhesive, screw, or floating installations, proper planning, preparation, and maintenance ensure longevity, durability, and aesthetic appeal. These six brilliant methods offer flexibility for both DIY projects and professional installations, guaranteeing that Solid Wood Panels maintain their timeless beauty while delivering superior performance.
By understanding material properties, following expert guidelines, and implementing regular maintenance, homeowners and professionals alike can enjoy the benefits of Solid Wood Panels for years to come.
FAQ
Q1: Can Solid Wood Panels be installed in bathrooms or humid areas?
A1: Yes, but moisture-resistant adhesives, proper ventilation, and humidity management are essential to prevent warping.
Q2: How do I choose the right installation method for my project?
A2: Consider the panel size, weight, exposure to moisture, aesthetic preference, and whether removal or replacement might be needed in the future.
Q3: How often should I inspect my installed Solid Wood Panels?
A3: Visual inspection should be done at least once a year, with checks for cracks, gaps, or moisture damage, especially in high-humidity areas.
Q4: Are floating installations suitable for commercial spaces?
A4: Floating installations are generally best for residential or low-traffic areas. For heavy-use commercial spaces, clip and rail or screw and nail methods may be more durable.
Q5: Can I mix installation methods in one project?
A5: Yes, combining methods like adhesive on walls with screw-secured panels for high-traffic areas is acceptable, provided proper expansion gaps and material compatibility are maintained.
Thank you for reading!
I’m glad you joined me on this journey. If you found this content useful or interesting, I would love to hear your thoughts.
- Follow me on Facebook for tips, updates, and community discussions.
Click here to connect - Subscribe to my YouTube channel for tutorials, demonstrations, and practical insights.
Click here to subscribe
Feel free to share your feedback or questions in the comments or on social media. Let’s keep learning and growing together!
-3.jpg)
.jpg)